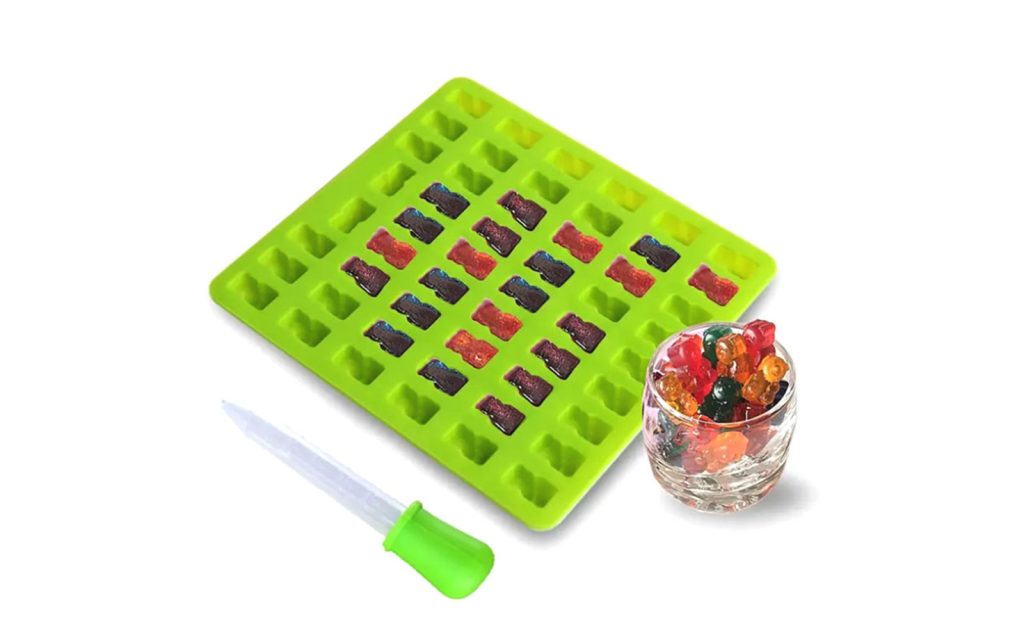
Silicone gummy molds have become a favorite tool for home bakers, candy makers, and commercial confectionery businesses. Whether you’re making homemade gummies, chocolates, or even ice cubes, silicone gummy molds offer a convenient, non-stick, and flexible solution.
In this article, we’ll explore the advantages of silicone gummy molds and provide a step-by-step guide on how to use them effectively.
Advantages of Silicone Gummy Molds
1. Non-Stick Surface
One of the biggest advantages of silicone gummy molds is their non-stick property. Unlike traditional plastic or metal molds, silicone does not require greasing or special coatings to release the gummies easily. This feature ensures that your gummies retain their perfect shape without sticking or breaking.
2. Flexible and Durable
Silicone molds are highly flexible, making it easy to pop out gummies without damage. At the same time, they are durable and resistant to cracking, allowing for long-term use without wear and tear.
3. Safe and Food-Grade Material
Most silicone gummy molds are made from BPA-free, food-grade silicone, ensuring safety for direct contact with food. They are also heat-resistant and can withstand a wide temperature range, making them safe for ovens, microwaves, freezers, and dishwashers.
4. Easy to Clean
Cleaning is effortless with silicone gummy molds. They can be washed with soap and water or placed in a dishwasher. Unlike plastic molds, silicone does not retain odors or stains.
5. Versatile Usage
Apart from making gummies, silicone molds can be used for a variety of applications, including:
✔️ Chocolate making
✔️ Ice cubes and fruit juice pops
✔️ Candy and caramel treats
✔️ Mini soap or wax mold crafting
✔️ Baking small treats or gelatin desserts

How to Use Silicone Gummy Molds?
Using silicone gummy molds is simple. Follow these steps for perfect homemade gummies:
Step 1: Prepare Your Ingredients
To make homemade gummies, you typically need:
- Gelatin or pectin (for a vegetarian option)
- Fruit juice or flavored liquid
- Sweetener (honey, sugar, or syrup)
- Citric acid (for a tart taste, optional)
Step 2: Mix and Heat the Gummy Mixture
- Heat the fruit juice and sweetener in a saucepan over low heat.
- Slowly add gelatin or pectin, stirring constantly to prevent clumping.
- Mix well until fully dissolved and remove from heat.
Step 3: Pour into the Silicone Gummy Molds
- Place your silicone gummy mold on a flat surface or a baking tray.
- Carefully pour the gummy mixture into each mold cavity. Using a dropper or spoon helps prevent spills.
Step 4: Set and Chill
- Allow the gummies to cool at room temperature for 10-15 minutes.
- Transfer the mold to the refrigerator for at least 1-2 hours until fully set.
Step 5: Remove and Store
- Gently push the gummies out of the silicone mold. The flexible design makes it easy to pop them out without breaking.
- Store the gummies in an airtight container in the refrigerator to maintain freshness.
Tips for Getting the Best Results with Silicone Gummy Molds
✔️ Avoid Overfilling – Fill the molds evenly to ensure uniform gummies.
✔️ Use a Dropper – A dropper helps to fill small gummy molds without making a mess.
✔️ Greasing is Optional – Silicone molds usually don’t require greasing, but a light coat of oil can be used for extra-easy release.
✔️ Experiment with Flavors – Try different fruit juices, colors, and natural sweeteners for a variety of gummy treats.

Silicone gummy molds are an essential tool for candy-making enthusiasts. Their non-stick, flexible, and food-safe properties make them ideal for making delicious homemade gummies, chocolates, and more.
By following the simple steps outlined in this guide, you can easily create perfect gummies at home while enjoying the benefits of a durable and easy-to-use silicone mold.
Ready to make your own homemade gummies? Grab a silicone gummy mold today and start experimenting with different flavors! 🍬🎉https://linzesilicone.com/